Table of Contents
- Quick answer: should you re-caulk before painting?
- When re-caulking is required
- What caulk to use under paint (with the actual ASTM specs)
- Where re-caulking matters most in a condo
- What re-caulking costs in 2026
- How re-caulking gets done in a paint job
- When not to caulk
- Re-caulking is cheap insurance against paint failure
Quick answer: should you re-caulk before painting?
Yes, in three situations: anywhere the existing caulk is cracked, yellowed, or pulled away; at any seam in a wet room where moisture has compromised the bead; and at any trim-to-wall seam that has opened due to building movement. A full repaint is also the right moment to re-caulk room-wide, because the small added cost prevents large paint failures later, and the new caulk gets painted along with the wall and trim. Use paintable acrylic-latex caulk, never pure silicone, under paint.
Key Takeaways
- Required where caulk is cracked, yellowed, or pulled away, and in wet rooms with compromised beads.
- Use paintable acrylic-latex caulk under paint. Silicone is for waterproofing only and will not accept paint.
- Re-caulking a room costs $100 to $300 in 2026; light re-caulking is included in most trim repaints.
- Cure caulk for at least two to four hours before painting, overnight in humid rooms.
- Do not caulk the gap between the baseboard and the floor; the floor needs that expansion gap.
Caulking is one of those prep steps that looks small on a quote and makes a huge visible difference on the finished job. A condo with sharp, freshly caulked trim seams reads as professionally finished in a way the same condo with cracked, yellowed seams cannot. Below, when re-caulking is required before a paint job, where it matters most in a condo, what it costs in 2026, and the one product (silicone) you must not use under paint. For the broader prep picture, start with the condo surface repair guide.
When re-caulking is required
Three situations require re-caulking before paint; a fourth makes it a soft yes.
Required: visibly failed caulk. Any caulk bead that is cracked, yellowed, or pulled away from one of its substrates has stopped doing its job. Cracked caulk lets moisture and air into the seam. Yellowed caulk has often started to break down chemically (some acrylic-latex products yellow with age and UV exposure). Pulled-away caulk no longer bridges the gap it was sealing. In all three cases we strip the failed bead and replace it before paint, because painting over failed caulk seals in the problem and the paint cracks along the bead within months.
Required: wet rooms with compromised beads. Bathrooms, kitchens, laundry rooms. Moisture is constant in these rooms, and any caulk that has even minor compromise will fail faster than caulk on dry trim. Tub-to-tile seams, counter-to-backsplash seams, around sinks, around toilet bases. We replace any compromised bead before painting; in bathrooms specifically, we often replace all visible caulk as a matter of policy on a full-room repaint.
Required: trim-to-wall seams that have opened. The trim-to-wall seam at the top of a baseboard, the side of a door casing, or the side of a window casing opens slightly as the building moves through seasons. A small open seam (under 2 millimetres) is normal and is what caulk is for. A larger open seam (2 to 4 millimetres) needs caulk replacement; beyond 4 millimetres, we look for whether the trim itself has shifted or popped loose and may need re-securing first.
Recommended: room-wide re-caulk on any full repaint. Even where the existing caulk looks acceptable, replacing the trim caulk during a full-room repaint sharpens the finished look dramatically. Fresh caulk has clean tool marks; aged caulk shows wrinkles, slight discolouration, and dust accumulation in the bead. The cost to re-caulk a room's worth of trim during a paint job is small, typically two hours of work plus material, and the visual lift is large.
What caulk to use under paint (with the actual ASTM specs)
Caulks are classified by standard, not by marketing language. The two specifications that matter for interior trim work:
| Product class | Standard | When to use | Paintable? | Cure before paint |
|---|---|---|---|---|
| Paintable acrylic-latex (painter's caulk) | ASTM C834 | Interior trim, baseboards, door/window casings, trim-to-wall seams | Yes | 30 min - 2 hr; 12-24 hr full cure |
| Elastomeric silicone (kitchen/bath) | ASTM C920 Type S Grade NS Class 25 | Tub-to-tile, shower corners, sink edges, exposed wet seams | No | N/A |
| Polyurethane | ASTM C920 Type S Grade NS Class 35 | Exterior, high-movement joints, bonding work | Yes (after 7-10 days) | 7-10 days |
| Modified-silicone hybrids | ASTM C920 | Wet rooms where bead will be painted with the trim | Marginally | 24 hr |
Paintable acrylic-latex caulk is the right product for almost every seam in a condo paint job. Common reliable products are DAP Alex Plus, Sashco Big Stretch, and Sherwin-Williams SherMax. The product tools smoothly with a wet finger, accepts paint after 30 minutes to 2 hours of skin formation, and reaches full cure at 12 to 24 hours. Painting before the bead has cured risks shrinkage cracks following the seam line, the most common caulk-related paint failure.
Pure silicone caulk is ASTM C920 elastomeric. It is waterproof, flexible to 25% joint movement, and very durable, but paint does not adhere to it. A silicone bead under paint shows as a stripe of unpainted bead that resists every coat. Use silicone only where the bead will not be painted at all: tub-to-tile, shower-corner seams, certain plumbing penetrations behind sinks or toilets.
Polyurethane caulk is overkill on interior condo trim and has a 7-10 day cure before paint, which derails any paint schedule. Save it for exterior seams and high-movement joints.
The decision rule: ASTM C834 latex for anything that gets painted, ASTM C920 silicone for waterproofing that does not.
Where re-caulking matters most in a condo
In order of how often we replace caulk in our Toronto work:
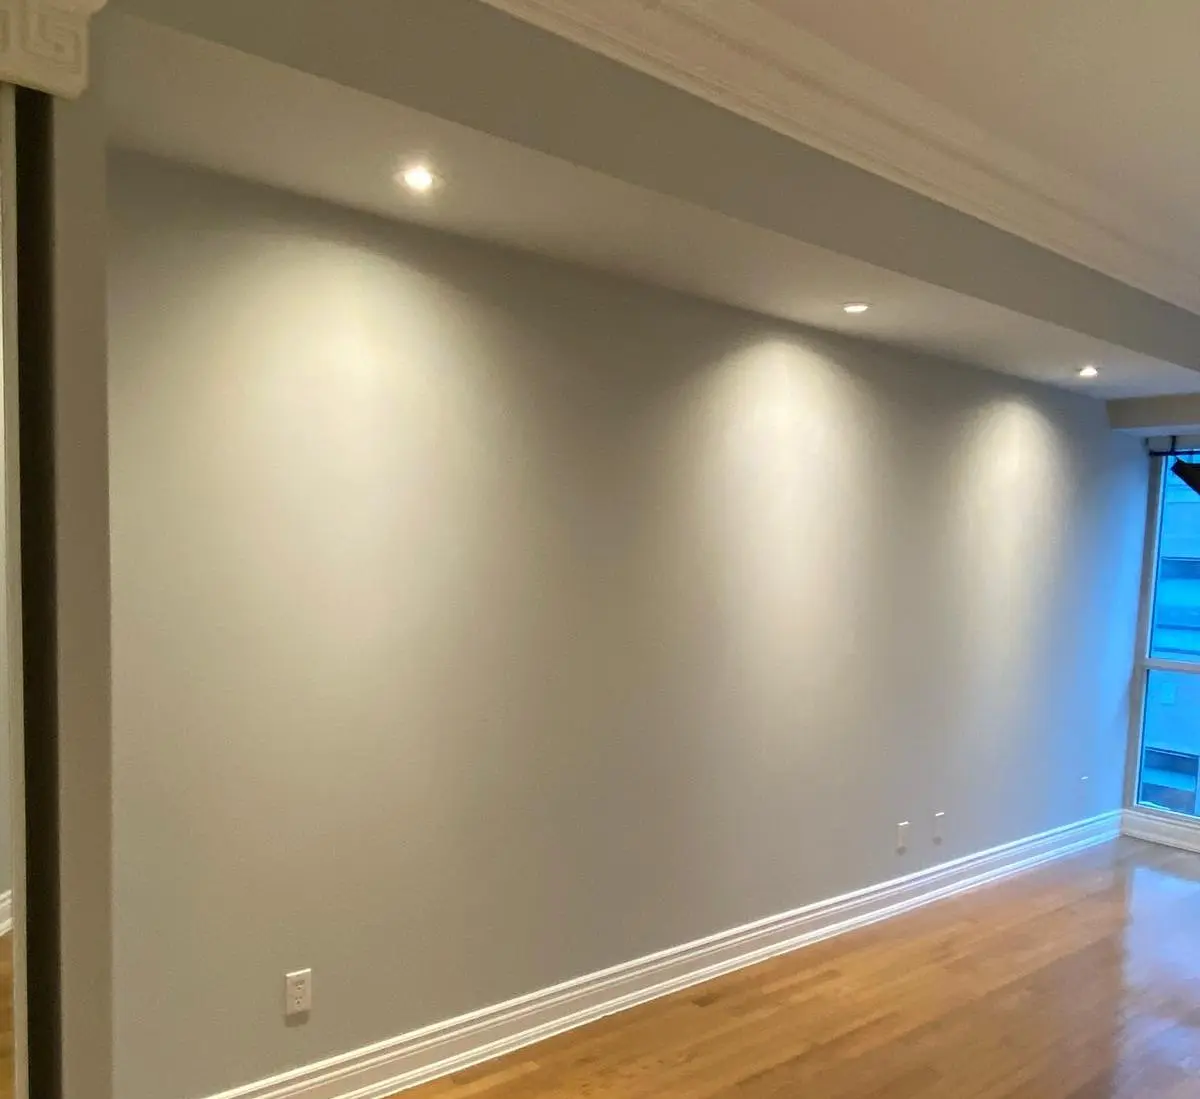
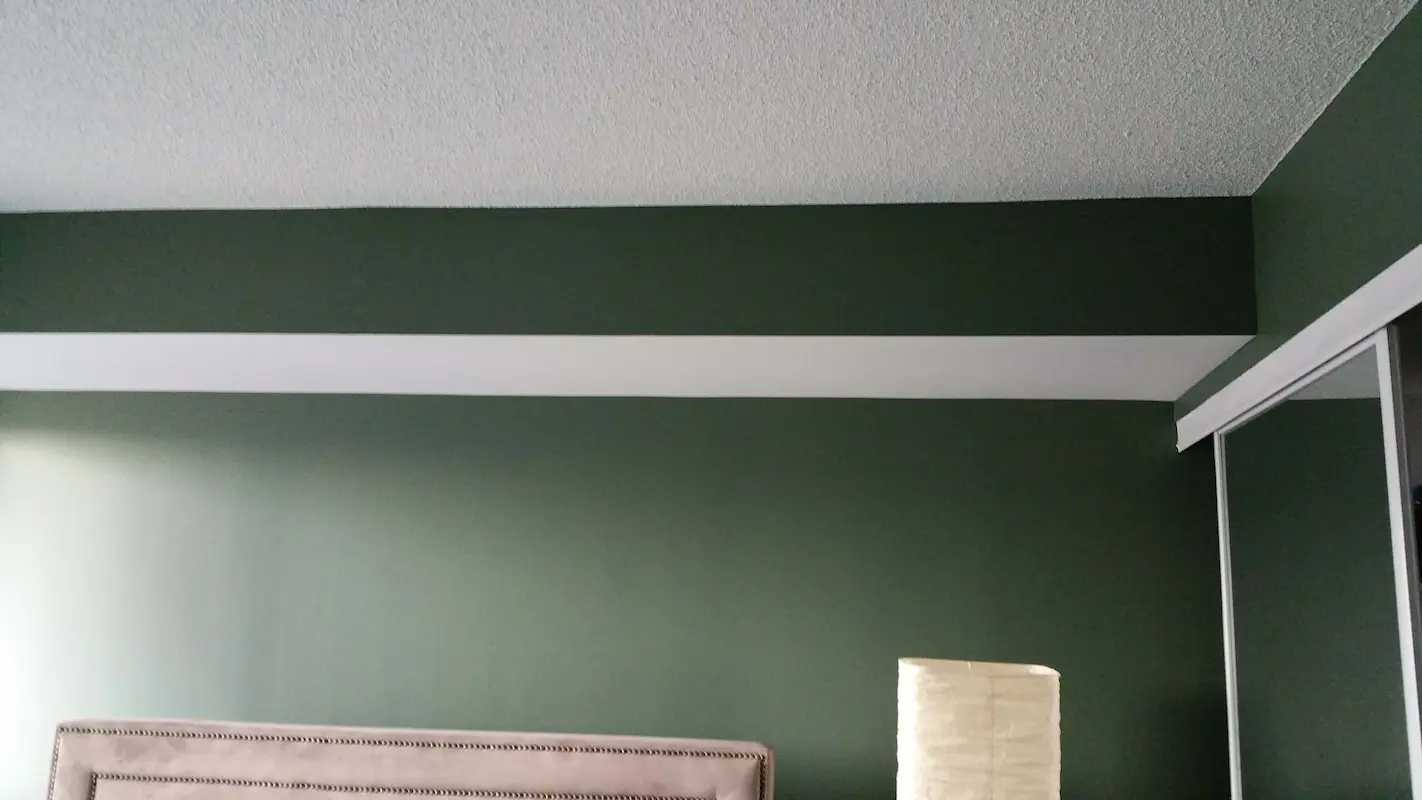
- Top of baseboards (baseboard-to-wall seam). Constantly stressed by vacuum impacts, the slight settling of the floor, and seasonal movement. The most common failure point in any condo.
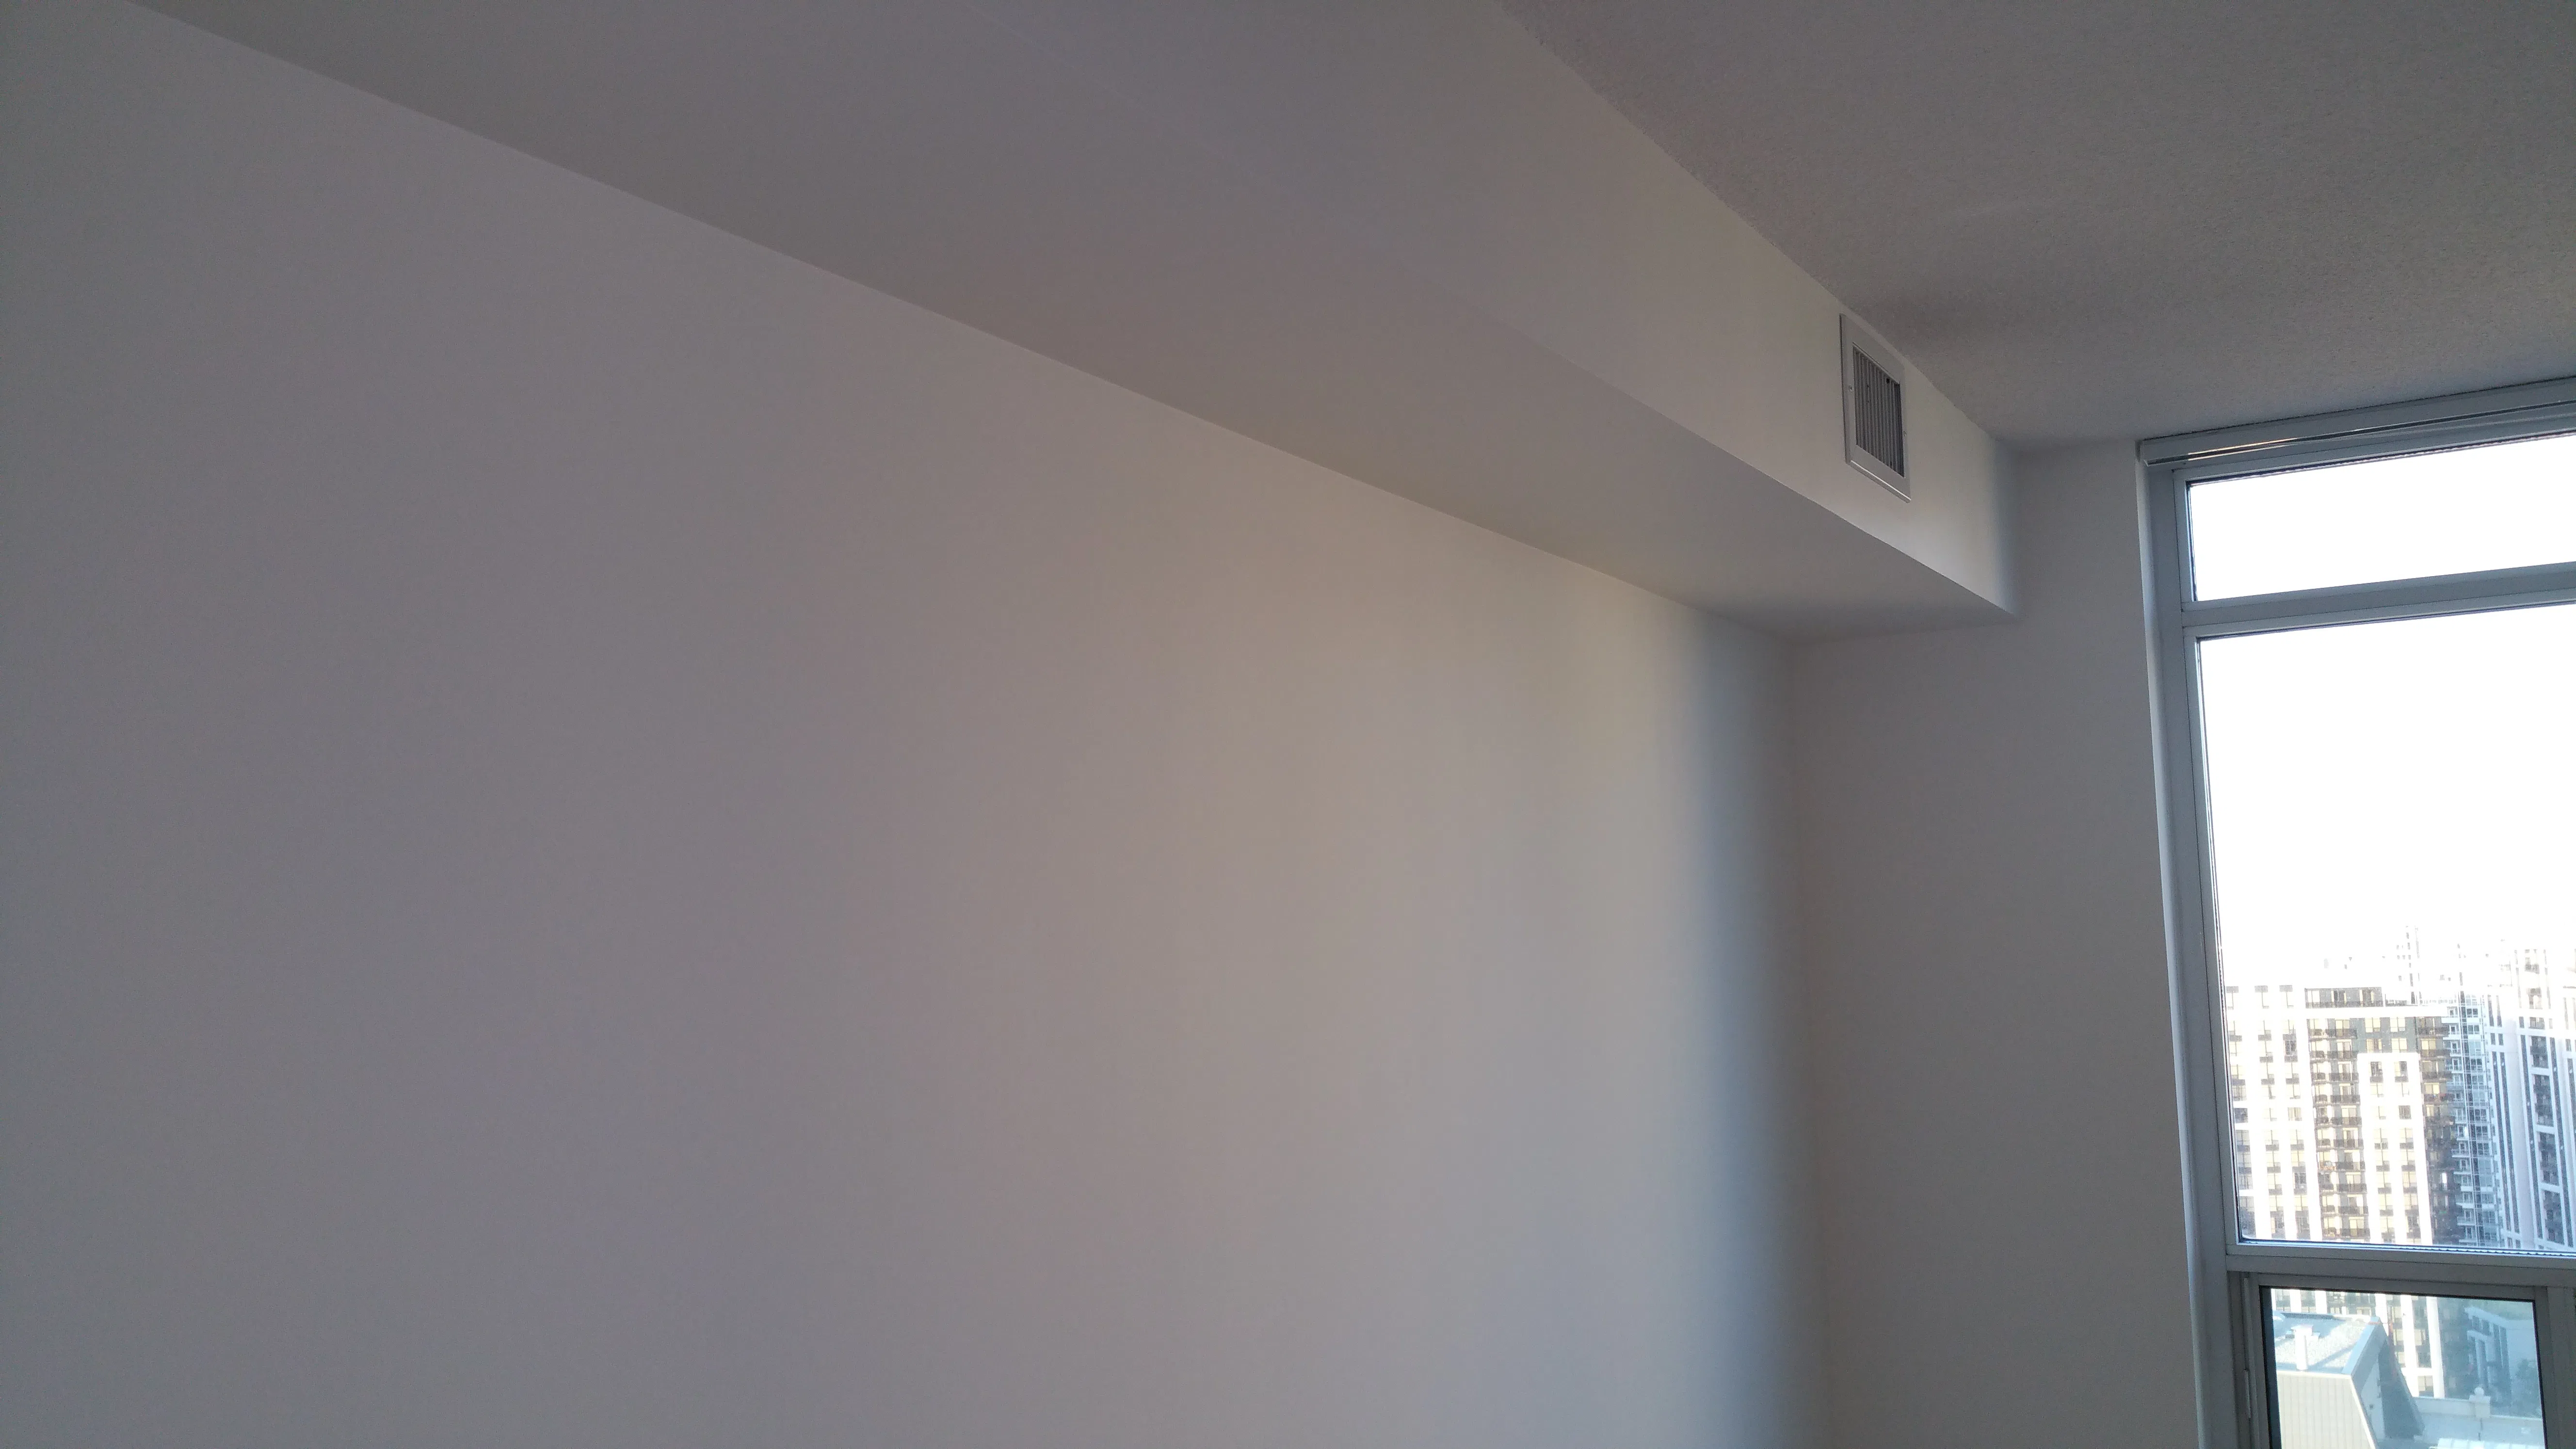
- Window casing-to-wall seams. Open as the building moves with seasons. Often hidden behind curtains and overlooked until a careful walkthrough.
- Door casing-to-wall seams. Similar to windows; door frames flex slightly with use, opening the seam.
- Bathroom counter-to-backsplash and counter-to-wall. Moisture-affected and high-touch.
- Tub surround seams. Where tile meets tub. Often has the wrong product (silicone or grout) and needs special handling.
- Plumbing penetrations. Under sinks, behind toilets, around tub drain trim. Usually silicone that has cracked and is hidden until a leak shows.
A walk through a typical Toronto condo with caulk in mind shows that re-caulking is rarely needed everywhere, but is almost always needed somewhere.
What re-caulking costs in 2026
| Scope | Typical cost in 2026 |
|---|---|
| Spot re-caulk (a few seams) | $50 to $150 |
| Room-wide re-caulk during paint | $100 to $300 per room |
| Bathroom re-caulk (silicone replacement) | $150 to $400 |
| Full-unit re-caulk | $500 to $1,000 |
| Light re-caulking with trim repaint | Often included at no extra charge |
These are first-party ranges from condo paint jobs. The variability is mostly in linear footage (how many seams) and in how much old caulk has to be cleaned out before new caulk goes in. Stripping cured silicone is the slowest part of any bathroom re-caulk, since you cannot simply caulk over silicone (the new bead will not bond), and silicone-removal solvents work slowly.
How re-caulking gets done in a paint job
The work itself is fast once the wall and trim are prepped. The sequence:
- Identify the seams to re-caulk. Mark on the walkthrough sheet.
- Remove old caulk where required. Cut out cracked or failed beads with a utility knife. Strip silicone with a removal solvent if the surface will be painted. Vacuum the seam clean of dust and debris.
- Mask or protect adjacent surfaces if necessary. Painter's tape on either side of a wide seam helps tool a clean bead.
- Apply paintable acrylic-latex caulk. A continuous bead from a caulk gun, neither too thin (will crack) nor too thick (will sag).
- Tool the bead smooth. Wet finger or smoothing tool, light pressure, single pass. Wipe excess immediately.
- Remove masking if used. Pull masking tape while the bead is still wet, never after.
- Cure for two to four hours minimum. Overnight in humid rooms or wet rooms.
- Paint over the cured caulk along with the rest of the surface, two coats.
The discipline that makes caulking last is tooling the bead immediately while it is wet and respecting cure time before paint. Painting too early causes fine cracks in the paint that follow the caulk bead, which is the most common caulk-related paint failure.
When not to caulk
Three places where the answer depends on the floor type or the application:
- Between baseboard and floor. This one is nuanced and we see DIYers get it wrong both ways. The right answer depends on the floor:
- Solid hardwood or engineered hardwood: do not caulk. Wood expands seasonally and a rigid caulk bead either tears as the wood moves or pulls the baseboard loose. The small dark line at the bottom is the expansion gap doing its job.
- Laminate, vinyl plank, LVT: do not caulk. Same expansion-gap requirement; floating floors need the bottom seam clear to move.
- Tile floors: caulk is fine and helps seal against moisture and dust intrusion. A bead of paintable acrylic-latex sized to the visible gap, tooled flat.
- Carpet: do not caulk. The carpet edge needs to remain trimmable.
- Bathrooms specifically: even on tile, a flexible hybrid product is better than a rigid latex bead because of moisture exposure at the floor.
- Over silicone caulk. Paint will not stick. Strip the silicone first.
- In a seam that should not be sealed at all. Some intentional gaps (around a movable kick-plate, around a removable access panel, behind a heater cover) exist for service reasons. Caulking them defeats the purpose.
We check for these situations on the walkthrough rather than caulking by default.
Re-caulking is cheap insurance against paint failure
Caulking is the prep step with the highest visual return per dollar in a condo paint job. A unit with fresh, properly tooled trim seams reads as cleanly finished in a way that the same unit with cracked or aged seams cannot. The cost is small (often included in a trim repaint quote, $100 to $300 per room when itemised), the work takes hours not days, and the alternative (paint cracking along failed seams within a year) costs far more to fix later.
Light re-caulking comes with every trim repaint we do, no extra line item; it costs us thirty minutes and prevents a callback at the six-month mark. Paintable acrylic-latex on anything that will be painted. Benjamin Moore on top, 5-year warranty on the workmanship. For a quote on the trim seams your condo actually needs re-caulked, send photos of the failed beads. For the broader prep picture, our condo surface repair guide covers the stages, and the right finish for trim and wet rooms covers the paint side of the same seams.
Chad Saygili is co-owner of Condo Painters Pro, a Toronto condo painting specialist. He has spent years painting condos across Toronto and the GTA, works exclusively with Benjamin Moore, and backs every job with a 5-year workmanship warranty.
MORE ABOUT OUR TEAM →