Table of Contents
- Quick answer: drywall repair in a Toronto condo
- What gets repaired in a typical condo
- What drywall repair costs in 2026
- Patch versus replace: the decision rule
- The patch-method-by-size table
- How a repair gets done, step by step
- Why condos crack more than houses
- When repair becomes renovation
- Drywall repair is the work; paint is the finish
Quick answer: drywall repair in a Toronto condo
Drywall repair in a Toronto condo runs from $0 (small nail holes, included in the paint quote) to about $800 per section (water-damage replacement) in 2026. Cracks at corners run $75 to $200 each, anchor blowouts $150 to $400 each, and a fist-sized hole patch around $150 to $300. The right repair technique depends on the type of damage; using spackle alone is the most common mistake and the reason patches show through paint within weeks.
Key Takeaways
- Small nail holes are included in a paint quote; meaningful drywall repair adds $75 to $800 per item in 2026.
- Cracks need mesh tape plus setting-type compound, not spackle. Spackle alone re-cracks.
- Anchor blowouts need backing inside the cavity, not just compound. Backing is what holds the patch in place.
- Water-damage drywall must be replaced, not patched. Drying the cavity is the slow step.
- The condo board usually wants notification for anything beyond cosmetic patching, especially water repair.
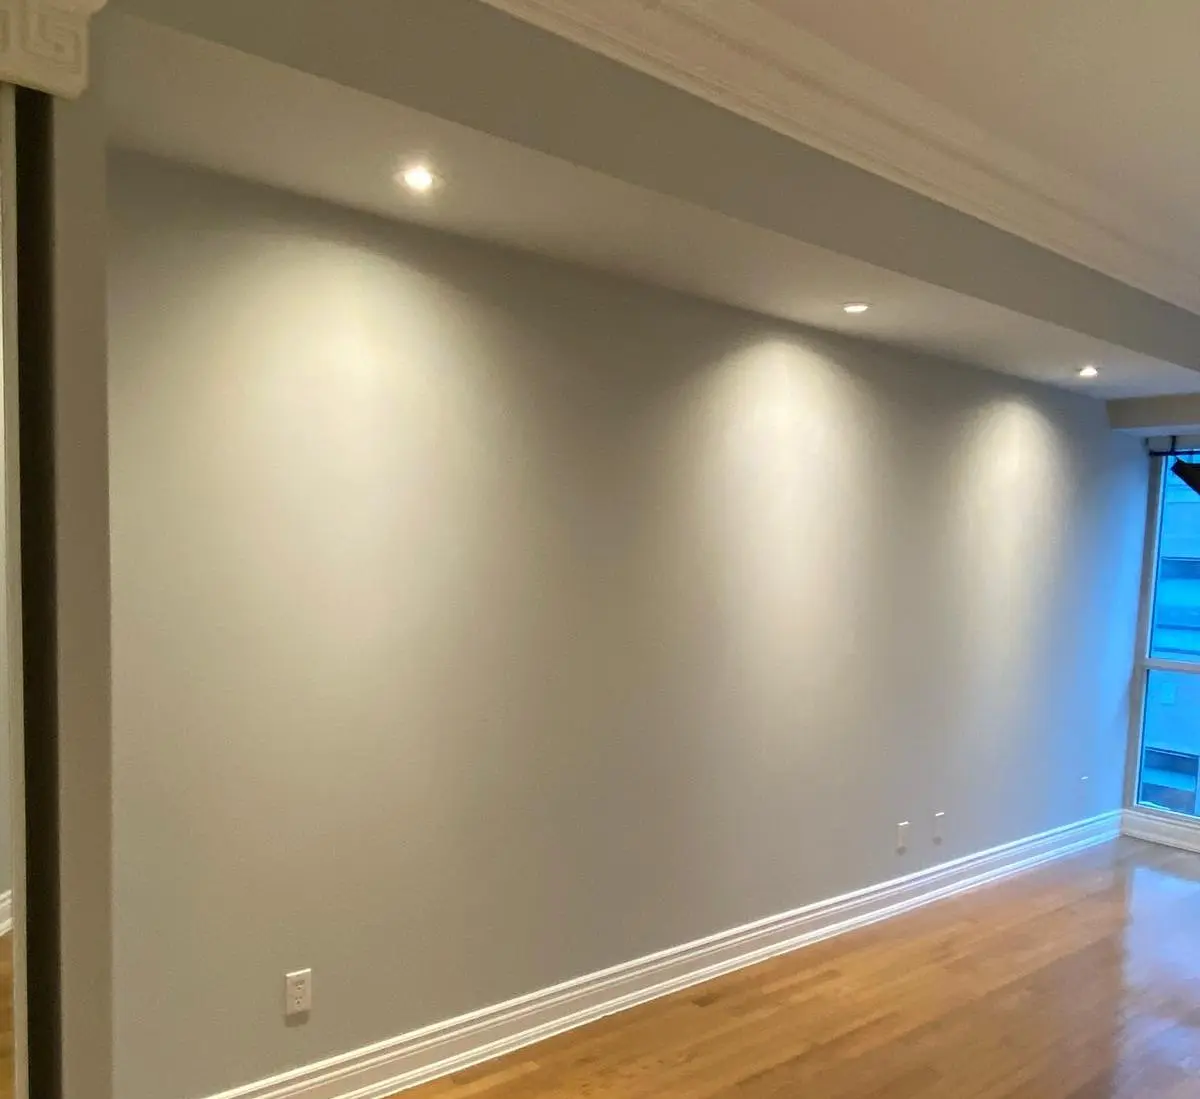
Drywall is the substrate every paint job sits on. On most Toronto condos that drywall has lived through multiple residents, several renovations, and twenty or thirty years of building movement. Getting it right before paint is the biggest difference between a finish that looks clean and one that telegraphs every patch within weeks. Below, the four drywall repairs we do most often in Toronto condos, what each one costs in 2026, and the technique that makes them actually last. For the bigger picture, start with the condo surface repair guide.
What gets repaired in a typical condo
Four kinds of drywall damage show up over and over in our Toronto work.
Nail holes and small dings
Every condo has them. Picture hangers, removed shelving, dings from moving furniture. Small holes (under about 6 millimetres) are filled with a lightweight filler or spackle, sanded smooth, and dusted before primer. These are standard light prep, included in every paint quote at no extra charge. The whole stage takes minutes per room and is what makes a wall look factory-fresh rather than lived-in.
Anchor blowouts
The opposite of a nail hole: where a wall plug, almost always a plastic anchor for a TV mount, mirror, or heavy picture, has torn out of the wall with a chunk of drywall attached. These cannot be filled with spackle because there is no drywall surface to fill against. The fix needs backing inside the cavity: either a wood strip screwed to the back of the wall behind the hole, or a paper-faced California patch for smaller blowouts (under about 5 centimetres). The patch sits on the backing, gets taped and skim-coated, sanded, and feathered into the wall. Done properly, the patched area is invisible under paint. Cost runs $150 to $400 per blowout, depending on size, and the work is split across two days because the compound has to cure between coats. We also recommend better hardware for the next install: toggle bolts or proper hollow-wall anchors instead of plastic plugs for anything over 5 kilograms.
Hairline cracks
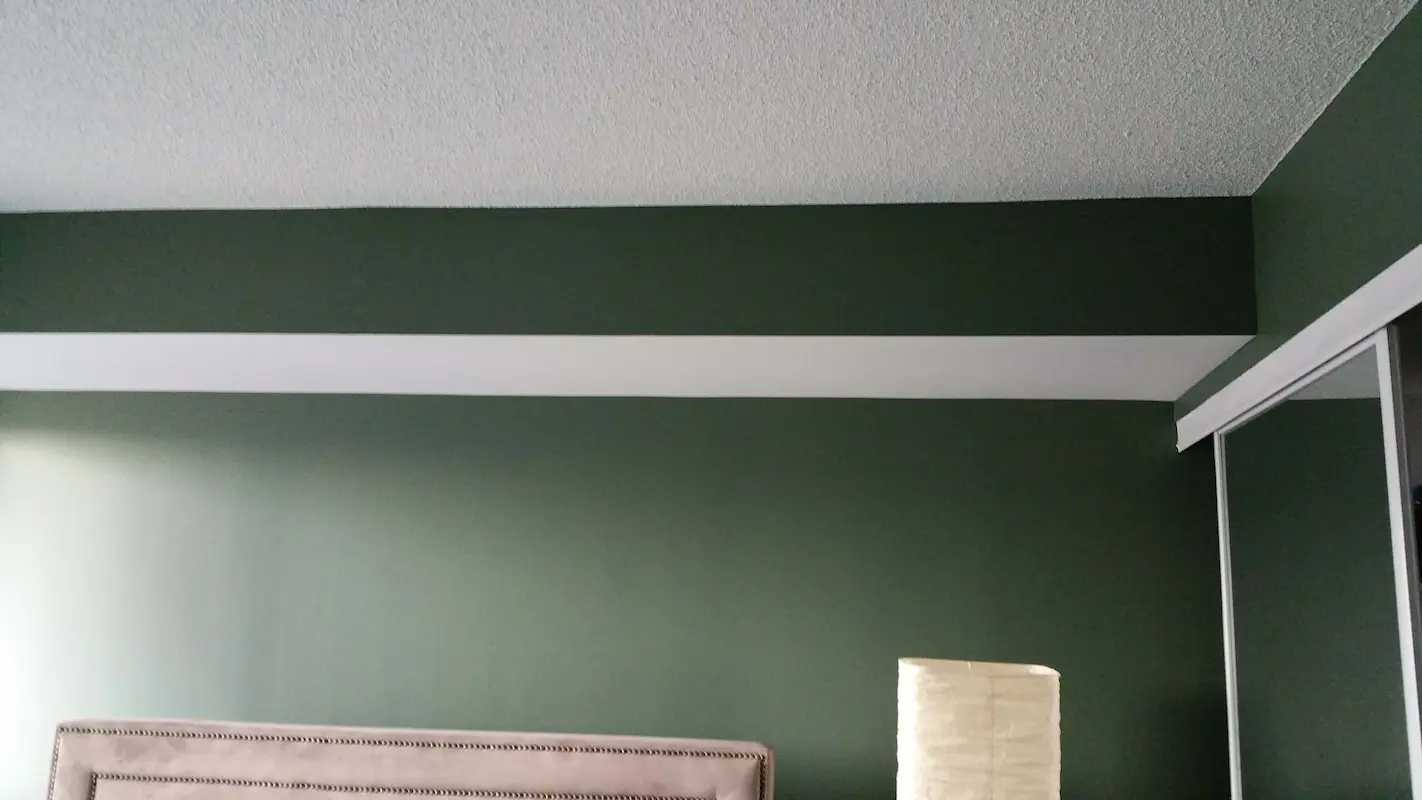
Common in concrete-frame condo buildings of any age, especially at door corners, window corners, and along the line where the top of the wall meets the ceiling. They appear because the building itself moves: temperature changes flex the concrete frame slightly, summer heat expands materials, winter cold contracts them, and over the years that movement shows up as fine cracks at stress points. Spackle alone does not fix these; the crack reappears the next season because spackle is brittle.
The repair that actually lasts uses mesh tape (self-adhesive fibreglass strip) or paper tape, applied directly over the crack, then a setting-type joint compound (one that hardens chemically, labelled with a working time like "20-minute" or "45-minute") that bridges the crack with some flexibility. Two to three coats of compound, sanded between, feathers the repair flush. Cost runs $75 to $200 per crack. For more on the underlying movement and the broader category of structural cracking, see nail pops and settlement cracks in condos.
Water-damaged drywall
Usually from a leak in the unit above, occasionally from a plumbing failure in your own walls. The repair starts before the drywall work does, with confirming the source is fixed and the cavity is fully dry. Health Canada's guide to addressing moisture and mould indoors is unambiguous on the threshold: drywall that has been wet for more than 48 hours should be replaced, not patched, because the porous gypsum core harbours mould even after the surface dries. The 48-hour rule is the load-bearing number for this entire decision.
The mould vs water-stain diagnostic: mix 1 part household bleach with 5 parts water and apply a small amount to an inconspicuous edge of the stain with a cotton swab. Wait 15 minutes. If the stain fades or lightens visibly, it is a water stain, proceed with priming and painting after the cavity is dry. If the stain stays unchanged or shows fuzzy, irregular edges, you have mould, and the call escalates to a remediation conversation rather than a paint conversation.
Once the source is fixed and the cavity is dry (typically several days with fans pointed into the wall through a small opening), drywall that is soft, crumbling, or visibly damaged through the thickness has to be replaced. Patching wet board does not work. We cut out the damaged section to clean edges, install new drywall, tape and finish the seams, prime with Zinsser B-I-N shellac primer (latex stain-blockers fail on real water damage; B-I-N is the gold-standard product for this), then paint. Cost runs $300 to $800 per section depending on size.
What drywall repair costs in 2026
| Repair | Typical cost | Notes |
|---|---|---|
| Nail holes, pinholes | Included in paint quote | Light prep, standard. |
| Small dings (under 1 cm) | Included | Light prep, standard. |
| Hairline crack (per crack) | $75 to $200 | Mesh tape plus setting compound. |
| Anchor blowout (small) | $150 to $250 | Paper-faced California patch. |
| Anchor blowout (large) | $250 to $400 | Wood backing plus drywall plug. |
| Fist-sized hole patch | $200 to $300 | Backing, plug, tape, skim, sand. |
| Larger hole (up to 30 cm) | $300 to $500 | Same method, more compound feathering. |
| Water-damage section replace | $300 to $800 | Cut, replace, tape, skim, prime. |
| Full wall replacement | $800 to $1,500+ | Rare; usually a renovation conversation. |
These are first-party 2026 ranges from condo jobs in Toronto and the GTA. They do not include the paint job on top, which is quoted separately, and they assume the cause of damage (where applicable) is already fixed and the cavity is dry.
Patch versus replace: the decision rule
The single decision drywall repair turns on is patch versus replace. The rule:
- Sound drywall with a hole or damage in it gets patched. Holes, blowouts, dings, cracks, surface scratches.
- Drywall that is soft, crumbling, water-stained through the thickness, or mould-affected gets replaced. You cannot patch board that has lost structural integrity.
The reason we do not patch wet board is that the underlying problem is not the hole, it is the loss of structural integrity in the gypsum core. A patch on soft drywall will pull away from the surrounding wall within months because the host material is no longer holding. The same logic applies to mould-affected board: the mould is in the gypsum, and patching seals it in rather than removing it.
A 30-centimetre size threshold is a rough guide for patch versus full-sheet replacement of a sound wall: above 30 centimetres, the feathering distance to make a patch invisible starts to approach the work of replacing the whole sheet, so replacement becomes more efficient. Location matters too. Holes near corners, against trim, or in textured areas are harder to patch invisibly than holes in a flat wall plane, and the patch-versus-replace threshold drops accordingly.
The patch-method-by-size table
Different hole sizes call for different repair methods, and using the wrong method is the most common reason DIY patches show through paint. The standard repair methods, anchored to ASTM C475 joint compound and tape specifications:
| Hole size | Right method | What it needs | Why |
|---|---|---|---|
| Pinhole to 6 mm | Spackle fill | Lightweight filler, sand, prime | No structural backing needed |
| 6 mm to 5 cm | California patch (paper-faced) | Drywall square 5 cm larger than hole; paper border feathered into wall | Paper provides the bond layer; no internal backing needed |
| 5 cm to 15 cm (fist-sized) | Mesh patch + skim | Self-adhesive aluminum-mesh patch with 2.5 cm overlap, three thin compound coats | Mesh provides structural bridge; skim hides the patch |
| 15 cm to 30 cm | Drywall plug + internal backing | Wood furring strips screwed inside cavity, drywall plug, tape, three skim coats | Backing carries the load; tape holds the seam |
| 30+ cm | Stud-to-stud replacement | Cut to expose adjacent studs, screw new board to studs, tape, finish | Patches over this size look obvious; replacement is cleaner |
Paper vs mesh tape for the seams around any patch is its own choice, also governed by ASTM C475/C475M:
- Paper tape is stronger in ultimate tensile strength, less elastic, and better for long flat seams and butt joints. Must be embedded in a wet compound bed.
- Mesh tape is self-adhesive, faster to apply, and slightly more moisture-resistant, better for small patches and humid areas. Must be covered with setting-type compound (CGC Durabond 20/45/90, chemical cure) rather than drying-type ready-mix, because mesh's elasticity needs the harder cure to keep the joint from re-cracking. This is the engineering rule covered in detail in nail pops and settlement cracks in condos.
How a repair gets done, step by step
For a typical mid-sized patch (a fist-sized hole or an anchor blowout in a flat wall plane), the sequence:
- Assess and prep the area. Mask the floor below the patch, clean the hole edges, vacuum dust from inside the cavity.
- Install backing. A wood strip screwed to the back of the wall behind the hole, or a paper-faced California patch for smaller holes. Backing is what holds the patch in place; without it, the patch is just compound and will not hold.
- Fit the plug. Cut a piece of drywall to fit the hole and screw it to the backing. The plug should sit slightly recessed so the skim coat brings it flush.
- Tape the seams. Self-adhesive mesh tape across every joint between plug and original wall.
- First coat of compound. All-purpose joint compound applied with a wide knife, covering the tape and feathering out 15 to 25 centimetres beyond the patch. Let cure overnight.
- Sand and second coat. Lightly sand, then apply a thinner second coat feathered out further (30 to 40 centimetres beyond the patch). Let cure.
- Sand and third coat if needed. A finish skim, very thin, feathered out further still. Sand smooth.
- Dust and prime. Vacuum the patch area, tack-cloth, then spot-prime with drywall primer.
- Paint with the rest of the wall. Two coats of finish paint over the whole wall, not just the patch, so the sheen is uniform.
A small patch can compress this to two days; a larger one runs three days because of the additional cure cycles. Skipping cure time is the most common cause of a patch flashing through paint later, because uncured compound continues to release moisture into the primer and causes uneven absorption.
Why condos crack more than houses
The hairline cracks at door and window corners that show up in Toronto condos are not poor construction; they are concrete-frame movement. The building is a stack of suspended floors on a flexible structural skeleton, and that skeleton breathes with temperature and load. Detached frame houses move too, but the movement is distributed differently and often hides in millwork joints rather than at drywall corners. In a condo, the drywall is the most rigid finish surface, so it shows the movement first.
This is why hairline cracks at corners are essentially permanent: they will keep appearing as the building goes through seasons. The repair technique using mesh tape and setting-type compound absorbs minor movement without re-cracking, but a wide crack (over about 2 millimetres) suggests larger movement and might warrant a structural look before painting. We flag anything wider than 2 millimetres on the walkthrough as a separate conversation.
When repair becomes renovation
Drywall repair stays a paint-job line item up to a point. Beyond that point, it becomes a renovation project that needs more trades than a painter brings. The threshold is roughly:
- Replacement of more than one wall section per room, especially if the cause is recurring water or structural movement, warrants a contractor before the paint job.
- Any framing or insulation work behind the drywall is a renovation, not a paint job.
- Sprinkler, HVAC, or electrical work exposed by drywall removal needs licensed trades and condo board approval.
- Mould remediation beyond a small surface area is a separate remediation contractor.
We flag these on the walkthrough and stay in our lane: we repair what is repairable as part of a paint job, and refer the rest to the right trade. Painting before the larger work finishes is just paying to paint it twice.
Drywall repair is the work; paint is the finish
The drywall stage decides how the paint actually looks. Most of the prep cost in a Toronto condo paint job is drywall work: filling small holes, patching anchor blowouts, taping cracks, replacing water-damaged sections. Done properly with the right products and the right cure discipline, the finish lasts. Skipped or rushed (spackle alone, wet board, no primer over patches), it telegraphs every shortcut within a season.
Every drywall repair is its own line on the quote, so you can see what is actually driving the number. Mesh tape and setting compound on every crack repair, not spackle (we are tired of repairing other people's spackle). Benjamin Moore on top, 5-year warranty on the workmanship. To get an honest drywall and paint number on your unit, send photos of the damage. For the broader prep picture, our condo surface repair guide covers the stages, and on why cracks keep coming back, nail pops and settlement cracks goes deeper on the structural side.
Chad Saygili is co-owner of Condo Painters Pro, a Toronto condo painting specialist. He has spent years painting condos across Toronto and the GTA, works exclusively with Benjamin Moore, and backs every job with a 5-year workmanship warranty.
MORE ABOUT OUR TEAM →